Ever felt that gut-wrenching moment when your phone just won't charge, or worse, connects intermittently? Chances are, it's not a catastrophic hardware failure (though sometimes it is, sadly). Often, the culprit is far simpler: a dirty, lint-filled USB charging port. We've all been there, stuffing our phones into pockets or bags, unknowingly collecting all sorts of microscopic debris. It’s like a tiny lint trap for your device.
But how do you tackle this without doing more harm than good? It's a delicate operation, requiring a bit of know-how and the right tools. Thankfully, experts like Asurion, who deal with device mishaps daily, have a clear, safe approach. So, let's dive into how you can give your phone's USB port the deep clean it deserves, according to their wisdom.
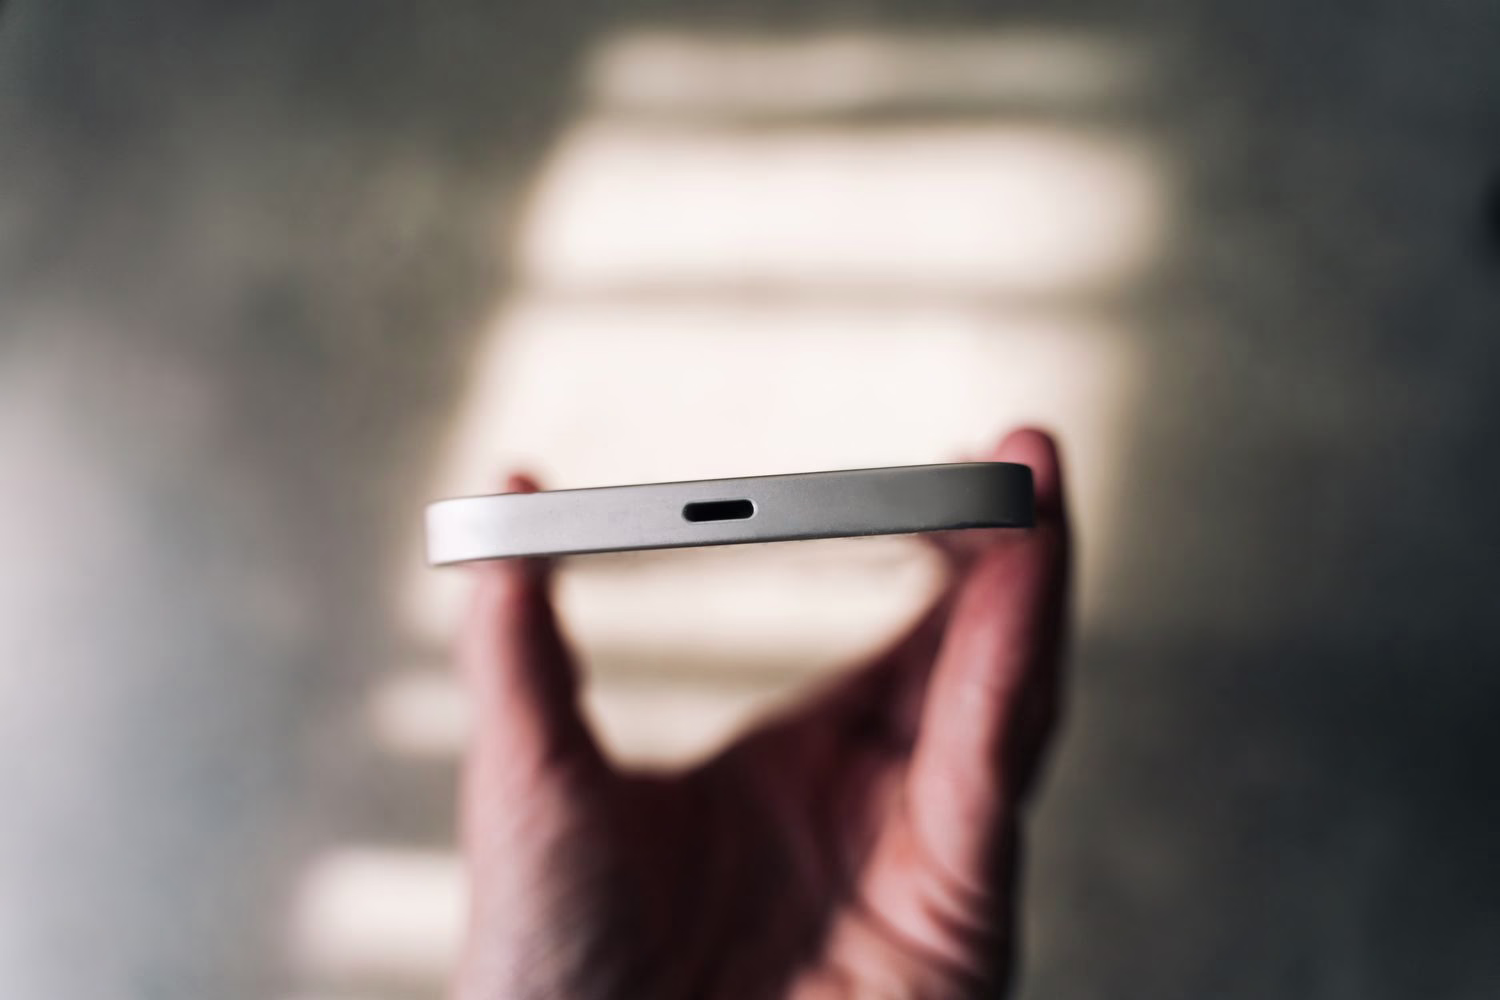
Why Your Phone's USB Port Becomes a Lint Magnet
Think about where your phone spends its day. Pockets, purses, car consoles, desk drawers – all places teeming with tiny fibers, dust, and general crud. Over time, this microscopic debris gets compacted into your phone's charging port, creating a barrier between the charging cable and the connection pins. It's a shockingly common issue, with Asurion's data showing a significant percentage of charging problems stem directly from this very thing.
Ignoring a dirty port isn't just an annoyance; it can lead to bigger problems. Constant wiggling of the cable to get a connection can damage the internal pins. And if you're like me, you've probably tried jamming the cable in harder, which, trust me, only makes things worse. Not only does it affect charging speed and reliability, but it can even lead to overheating in extreme cases. Proper maintenance reduces repair needs, by a good 25% according to some recent expert reviews. That’s a decent chunk of change saved, considering professional repairs can run you $75-$120 just for a cleaning.
Before You Begin: Safety First, Always!
Alright, before we even think about touching that port, we need to talk safety. This isn't just some casual cleaning; we're dealing with delicate electronics here.
-
Power Down Your Phone Completely: This is non-negotiable. Don't just put it to sleep; fully shut it off. This minimizes any risk of short circuits or accidental damage while you're poking around.
-
Unplug Everything: Remove any charging cables, headphones, or other accessories. You want a completely naked device.
-
Work in a Well-Lit Area: You need to see what you're doing. A bright lamp or natural light will help you identify the debris.
-
Be Gentle: This isn't a wrestling match. The components inside are tiny and easily damaged. Patience and a light touch are key.
Seriously, overlooking these simple steps could turn a quick fix into a costly repair. Asurion frequently sees claims for port damage caused by improper DIY cleaning. So, let's do it right.
Tools of the Trade: Asurion's Recommended Arsenal
Here’s what you'll need:
-
Compressed Air Can: This is your first line of defense. Look for one with a thin, straw-like nozzle for precision. Falcon Dust-Off is a popular choice, typically running $8-12. Make sure it's electronics-safe and non-flammable.
-
Plastic Flosser or Plastic Toothpick: Forget the metal stuff! Metal can scratch the delicate charging pins or even cause a short circuit. Plastic flossers (the ones with a pick on one end, like Plackers, usually $3-5 for a pack) or specialized plastic toothpicks are perfect for dislodging stubborn gunk.
-
Microfiber Cloth: A soft, lint-free cloth is great for wiping down the exterior and for any minor residue. A pack of 6 costs about $5-10.
-
Isopropyl Alcohol (70-99% concentration): For sticky residue, this is your secret weapon. A small bottle costs $4-7. Just ensure it's high concentration, as water content can be an issue.
-
Cotton Swabs (Q-tips): For applying alcohol, but be warned: regular Q-tips can be too large for some ports. You might need to gently flatten one or use smaller, precision swabs if you can find them.
-
Metal objects: Paperclips, actual metal toothpicks, needles – big no-no. They scratch, they short.
-
Water or other liquid cleaners: Unless it's isopropyl alcohol applied very carefully, keep liquids far away. No lemon juice and baking soda concoctions like some folks on X suggested recently – that's a recipe for disaster, not a clean port!
-
Vacuum cleaners: They can create static electricity, which is bad news for delicate electronics.
The Step-by-Step Cleaning Process
Ready? Let’s get that port sparkling again.
Step 1: Power Down Completely
Seriously, do it. I know I said it already, but it’s the most important first step. Hold down your power button and choose "Power Off." Don't be a hero; wait for it to fully shut down.
Step 2: The Gentle Breeze with Compressed Air
Grab your can of compressed air. Holding it upright (this prevents liquid propellant from spraying out, trust me, I learned that the hard way once!), use short, controlled bursts. Aim the nozzle directly into the port. You're trying to dislodge and blow out any loose dust, lint, or small particles. Angle your phone so the debris can easily fall out. Don't go crazy and blast it for an eternity; a few quick puffs should do the trick.
Step 3: The Precision Picker for Stubborn Debris
Step 4: Tackling Sticky Situations with Isopropyl Alcohol
Most of the time, compressed air and a plastic tool will solve the problem. But sometimes, you get sticky residue – maybe from a spilled drink or, heaven forbid, that banana mishap one user posted about on Reddit. For these moments, isopropyl alcohol is your friend.
Step 5: The Final Inspection
Once you feel like you've removed all visible debris and any alcohol has evaporated, give the port a final look. Does it look clear? Can you see the charging pins cleanly? If so, you're good to go. Try plugging in your charger. It should slide in smoothly and make a solid connection, and your phone should start charging without any fuss. If the cable still feels loose or charging is intermittent, it might be time for more serious intervention.
What NOT to Do: Avoiding Costly Mistakes
When to Call in the Pros
Sometimes, despite your best efforts, the problem persists. Maybe there's a deeper issue, or perhaps the port is actually damaged. If your phone still isn't charging reliably after a thorough cleaning, or if you see visible damage to the pins, it's time to seek professional help. Asurion, for instance, offers same-day repairs at their partnered locations, which can be a lifesaver. They have specialized tools and expertise to diagnose and fix port issues without causing further damage. Trying to fix complex internal issues yourself is a gamble you probably don't want to take.
Keeping Your Port Pristine: Prevention is Key
Once your port is clean, let's keep it that way! Simple habits can go a long way. Consider using port covers (you can find them for $5-10 online) if you're often in dusty environments or carrying your phone in a linty pocket. Or, simply store your phone in a clean, dedicated pouch or pocket. The rise of wireless charging (especially with the Qi2 standard in newer devices) is also helping to reduce port wear and tear, and cleaning needs by a good 15-20%. So, if your phone supports it, use it! A little prevention now can save you a lot of headache (and money) down the line.